Hello GraphicsMagick
GraphicsMagick-1.3.31-Q8-win64-dllI used an installer. So, it's not like a tutorial on how to double click on the program icon is going to do anyone any good.
To keep all my graphics code together, I installed GraphicsMagick into:
c:\alpha\graphicsmagickSo, to run GraphicsMagick on the command line, I need to type (or cut and paste):
c:\alpha\graphicsmagick\gm.exeBut that doesn't do much of anything but give one version information.
To do any work, a much more complex command is required.
For example, the following code applies a simple filter before saving the modified image.
c:\alpha\graphicsmagick\gm.exe `
  convert `
  -verbose `
  -solarize 5 `
  c:\alpha\input\test.jpg `
  c:\alpha\output\test_1.jpg
c:\alpha\graphicsmagick\gm.exe- Invokes GraphicsMagick
- The path is machine specific to me.
convert- Calls this workhorse utility
-verbose- Does as it implies.
- Because, why not?
-solarize 5- An example command
- Not needed for a simple copy
c:\alpha\input\test.jpg- Path to the input image
c:\alpha\output\test_1.jpg- Path to the output image
All of those backticks (
`) enable code continuation on the command line. If all of the code is strung out on a single line, they are not needed... and if included, the code would fail.In my initial run down of the
convert options, I did not find that many of interest. Of course, my review was quite quick.-edge 5- a standard edge detector
-solarize 95- a nice negative effect
-solarize 5- sort of the opposite
- not subtle
- other worldly
-spread 5- a blur
I find it rather annoying that upon copying an image the thumbnail preview does not change. Which is to say, the profile (or at least, I think that is what it is called) is not updated. So, looking at thumbnails in a directory (medium sized, but not for large or extra-large previews, oddly), I saw no change in the output images after applying the filters. I had to open the images to see the changes.
But then, in writing this up, I played with the view. So, I suppose I'll be looking at my images in large size format when using GraphicsMagick, because that is what worked for me.
In my quick review of the options, I noticed
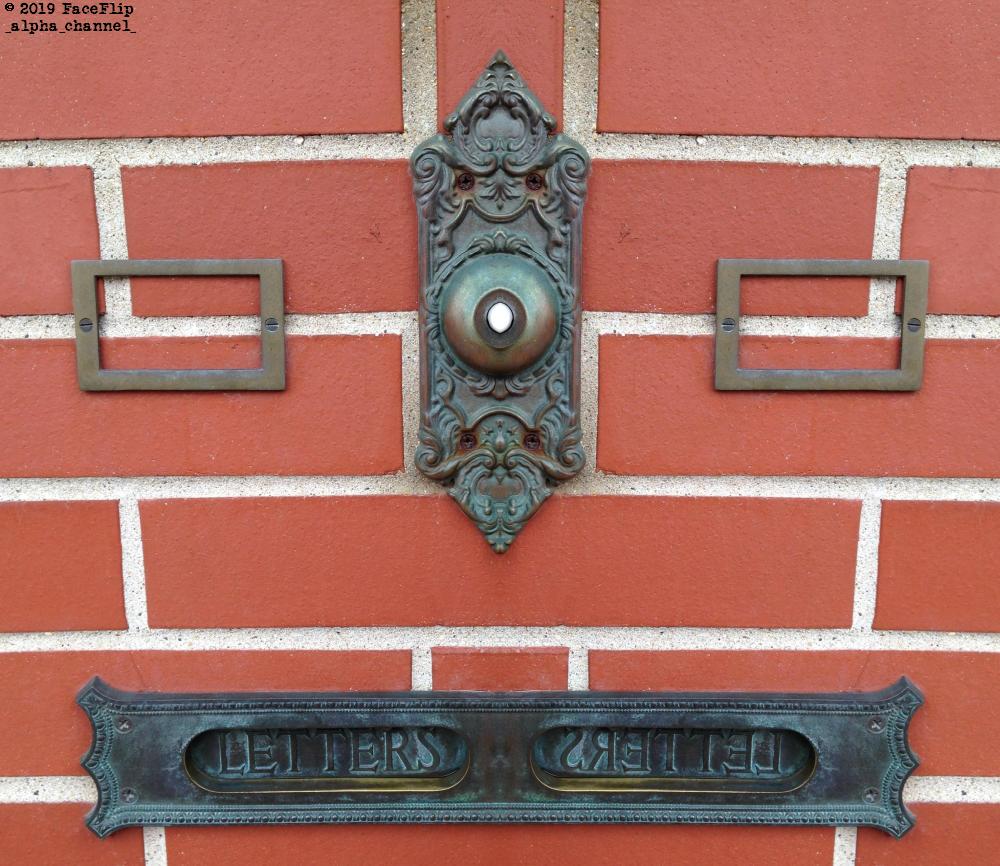
-flip and -flop. And since those come close to implementing a Face Flip project I completed recently, I figured I would work that out as my Hello GraphicsMagick.The Steps Involved:
- Copy Original Image
- Flip Original Image
- Combine Front Ways
- Combine Back Ways
Copy Original Image
c:\alpha\graphicsmagick\gm.exe `
  convert `
  c:\alpha\input\test.jpg `
  c:\alpha\output\test_a.jpg
Flip Original Image
c:\alpha\graphicsmagick\gm.exe `
  convert -flop `
  c:\alpha\input\test.jpg `
  c:\alpha\output\test_b.jpg
Combine Front Ways
c:\alpha\graphicsmagick\gm.exe `
  convert +append `
  c:\alpha\output\test_a.jpg `
  c:\alpha\output\test_b.jpg `
  c:\alpha\output\test_first.jpg
Combine Back Ways
c:\alpha\graphicsmagick\gm.exe `
  convert +append `
  c:\alpha\output\test_b.jpg `
  c:\alpha\output\test_a.jpg `
  c:\alpha\output\test_second.jpg
As my first PowerShell program, I think I will try to get this to work for all the images in the input directory.
GraphicsMagick FaceFlip
G'MIC FaceFlip
PowerShell FaceFlip
